![[LIFT] architects](/storage/layout/Header_025.png)
Entries in Professional Work (9)
FLUX Opening Night
 AOP
AOP
 3 Comments
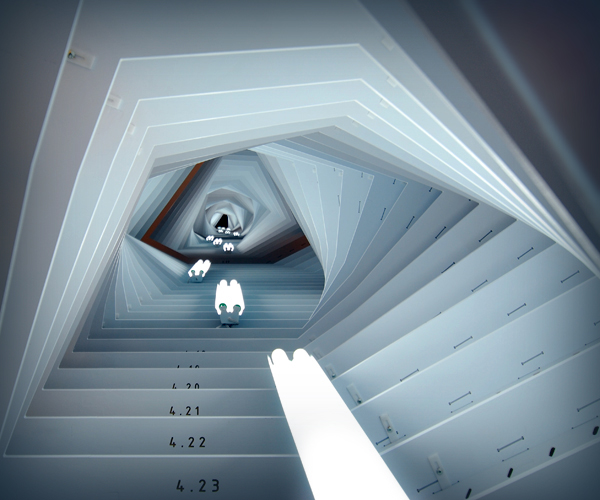
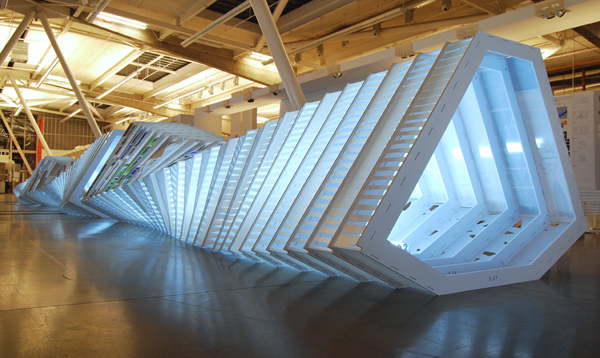
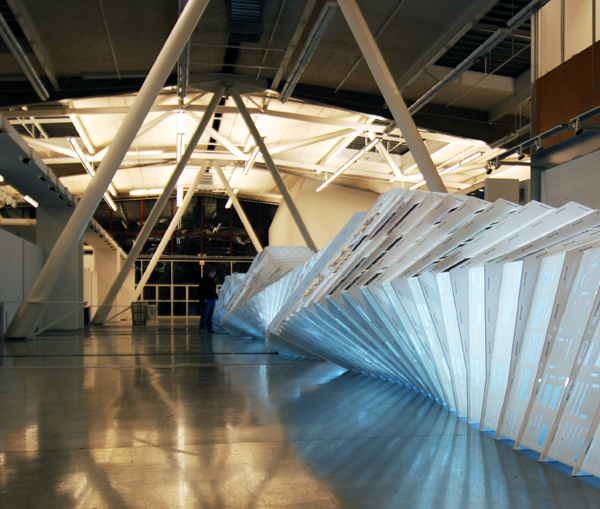
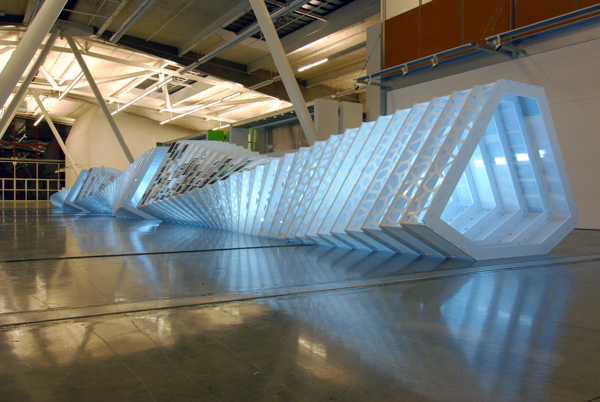
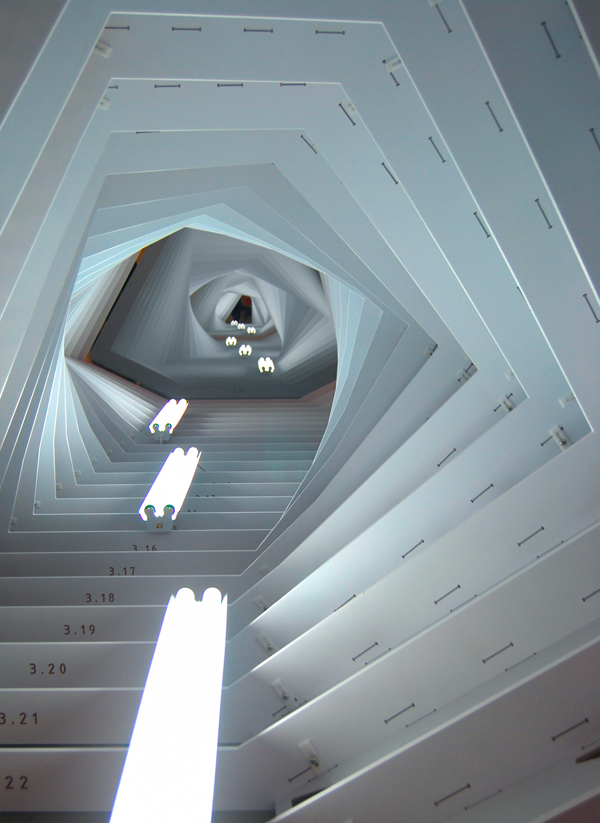
The FLUX exhibition opened last night at the California College of Arts and we had an incredible turnout. The exhibition explores contemporary architecture and design through its relationship with changes in design technologies such as parametric modeling, digital fabrication, and scripting. Over 40 projects are featured in the exhibition through drawings, photographs, and specially made models that explore the techniques and processes presented in the projects. Eight topics dealing with the geometric and performative aspects of the projects are explored: Stacked Aggregates, Modular Assemblages, Pixelated Fields, Cellular Clusters, Serial Iterations, Woven Meshes, Material Systems, Emergent Environments. I was brought in as a parametric modeling and complex geometry consultant to write a Grasshopper definition that would generate the form, ribs, plexi-glass panels, and all of the connection details. These would in turn be flattened in Rhino so they could be sent directly to the CNC mill. Final fabrication started just 2 weeks before the opening and because all of the details had been controlled in the parametric model, each of the 4 modules could be constructed in just two and half hours.
Director of Architecture, CCA: Ila Berman
Project Design and Fabrication: Kory Bieg, Andre Caradec, Andrew Kudless
Parametric Design Consultant: Andy Payne
Sponsors: K Bieg Design, Studio Under Manufacture, Solid Thinking
Photos courtesy of Kory Bieg


Suspended Ceiling using Grasshopper and Rhinoscript
I finally finished the script for the exhibition space we have designed where we suspend 3024 mason jar lids from a T-bar ceiling. In order to streamline the process, I used the Grasshopper plug-in to parametrically control several aspects of the design. Below, I try to explain each step of the process and how the script works. This script is much more detailed than the previous version, as now all of the steps are embedded into 2 scripts: one grasshopper definition which deals with all of the math behind the project, and one rhinoscript that deals with exporting the data to Microsoft Excel for easy access.
The files you will need to create the suspended ceiling are as follows:
New Update: I have modified the source files to be consistent with the release of the Grasshopper plugin on 10.10.2008. You can download all of the source files for the suspended ceiling here.
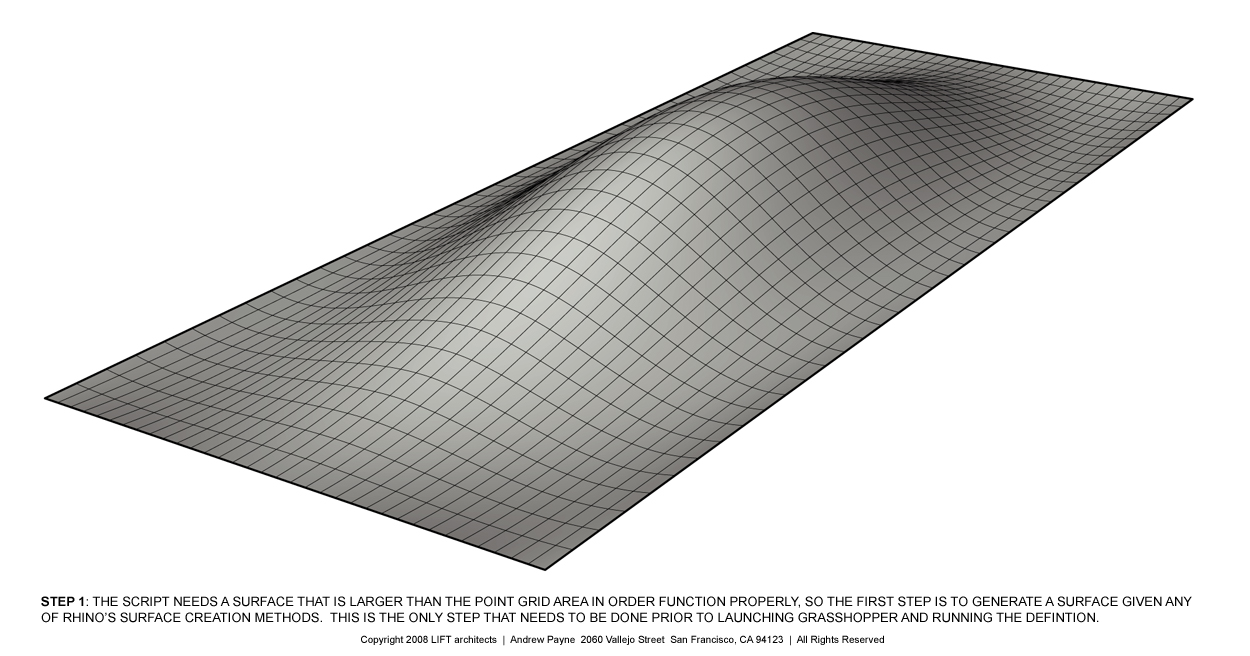 Step 1: The script needs a surface that is larger than the point grid area in order to function properly, so the first step is to generate a sufrace using any of Rhino's surface creation methods. This is the only step that is required prior to launching Grasshopper and running the definition. Click image for more detail.
 Step 2: The first part of the definition creates a staggered point grid based on a variable offset distance (inches) which is parametrically driven by an integer slider labeled "point spacing". It is important that the point grid is created above the surface (z-axis). Click image for more detail.
 Step 3: The next part of the definition duplicates the staggered point grid created in Step 2 and moves them along the z-axis so that the copies are below the given surface. Next, a vertical line is created between the original point grid and the duplicates. Click image for more detail.
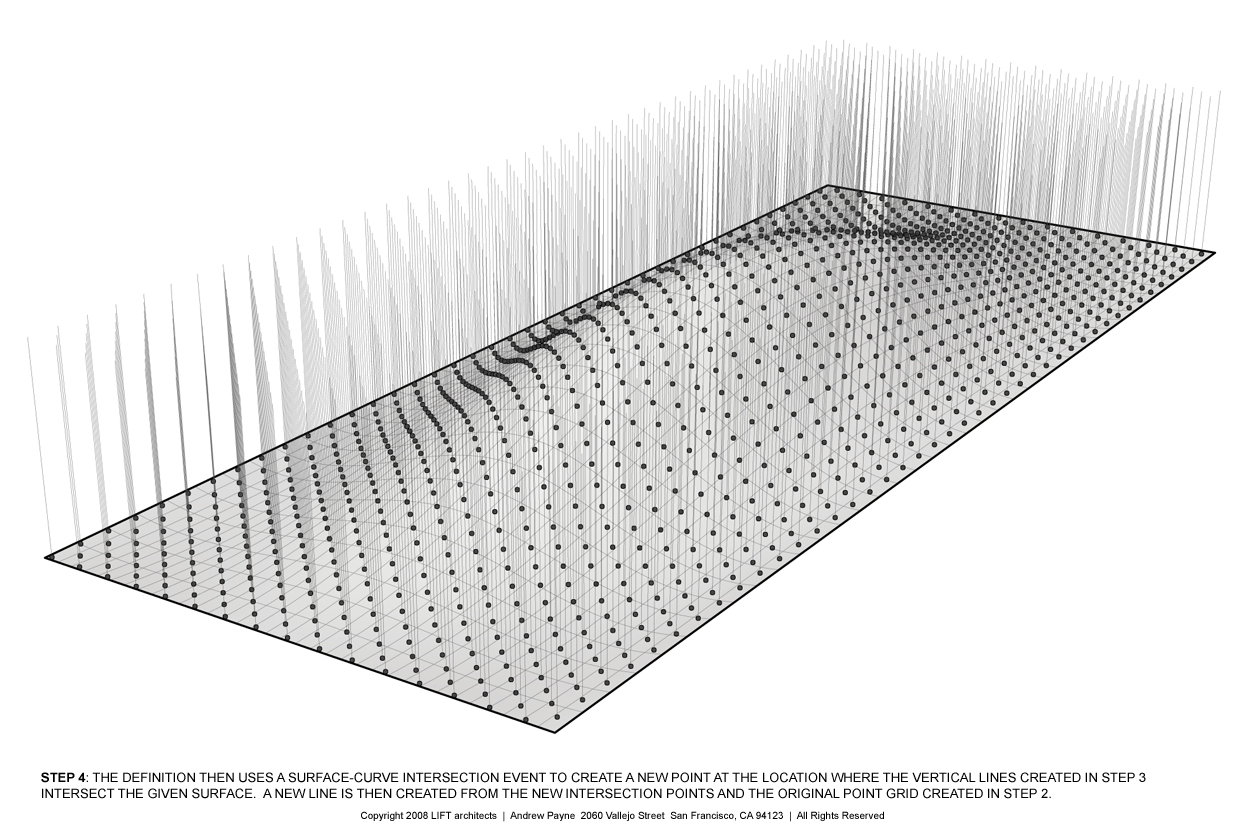 Step 4: The definition uses a surface-curve intersection event to create a new point at the location where the vertical lines created in Step 3 intersect the surface. A new line is then created from the new intersection points and the original point grid created in Step 2. Click image for more detail.
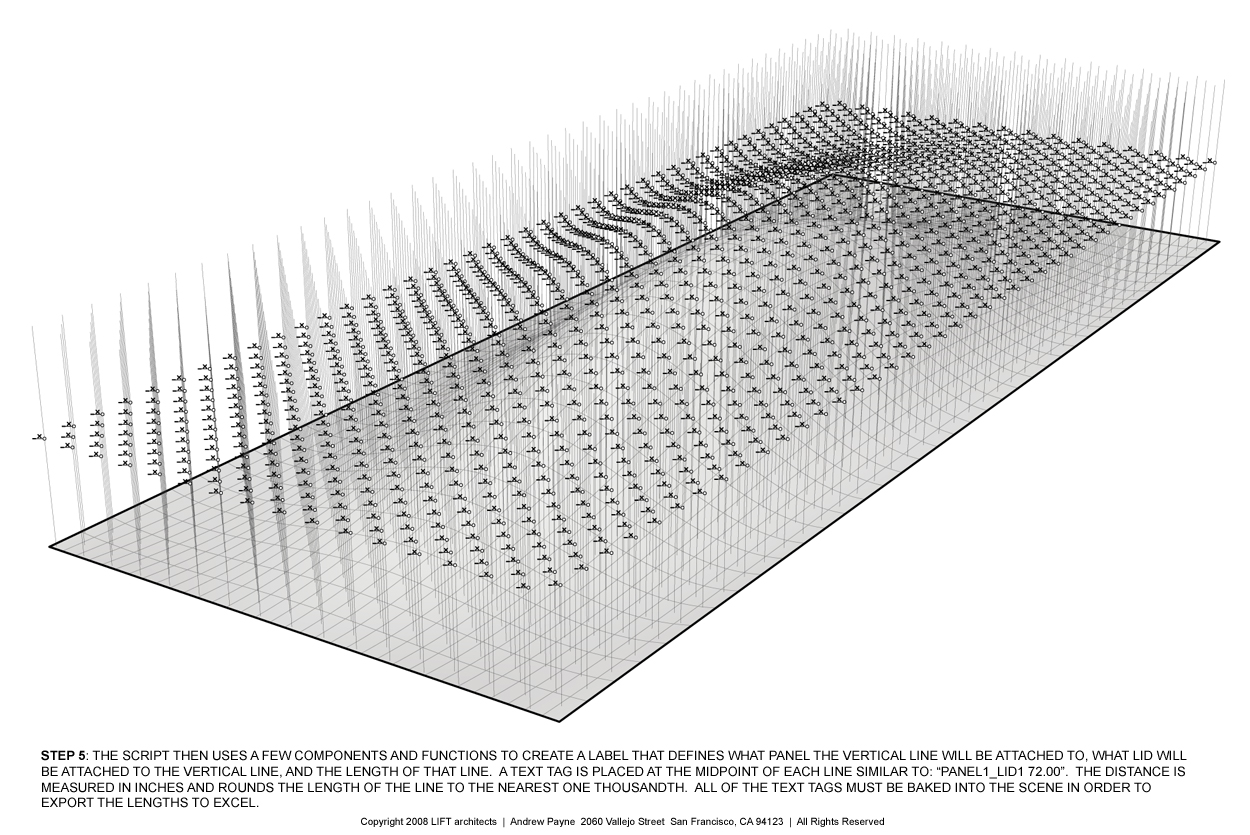 Step 5: The script then uses a few components and functions to create a label that defines what panel the vertical line will be attached to, what lid will be attached to the vertical line, and the length of each line. A text tag is placed at the midpoint of each line similar to: "Panel1_Lid1 72.000". The distance is measured in inches and rounds the length of the line to the nearest one thousandth. All text tags must be baked into the scene in order to export the data to excel. (special thanks to Troy Zezula for collaborating on this part of the script). Click image for more detail.
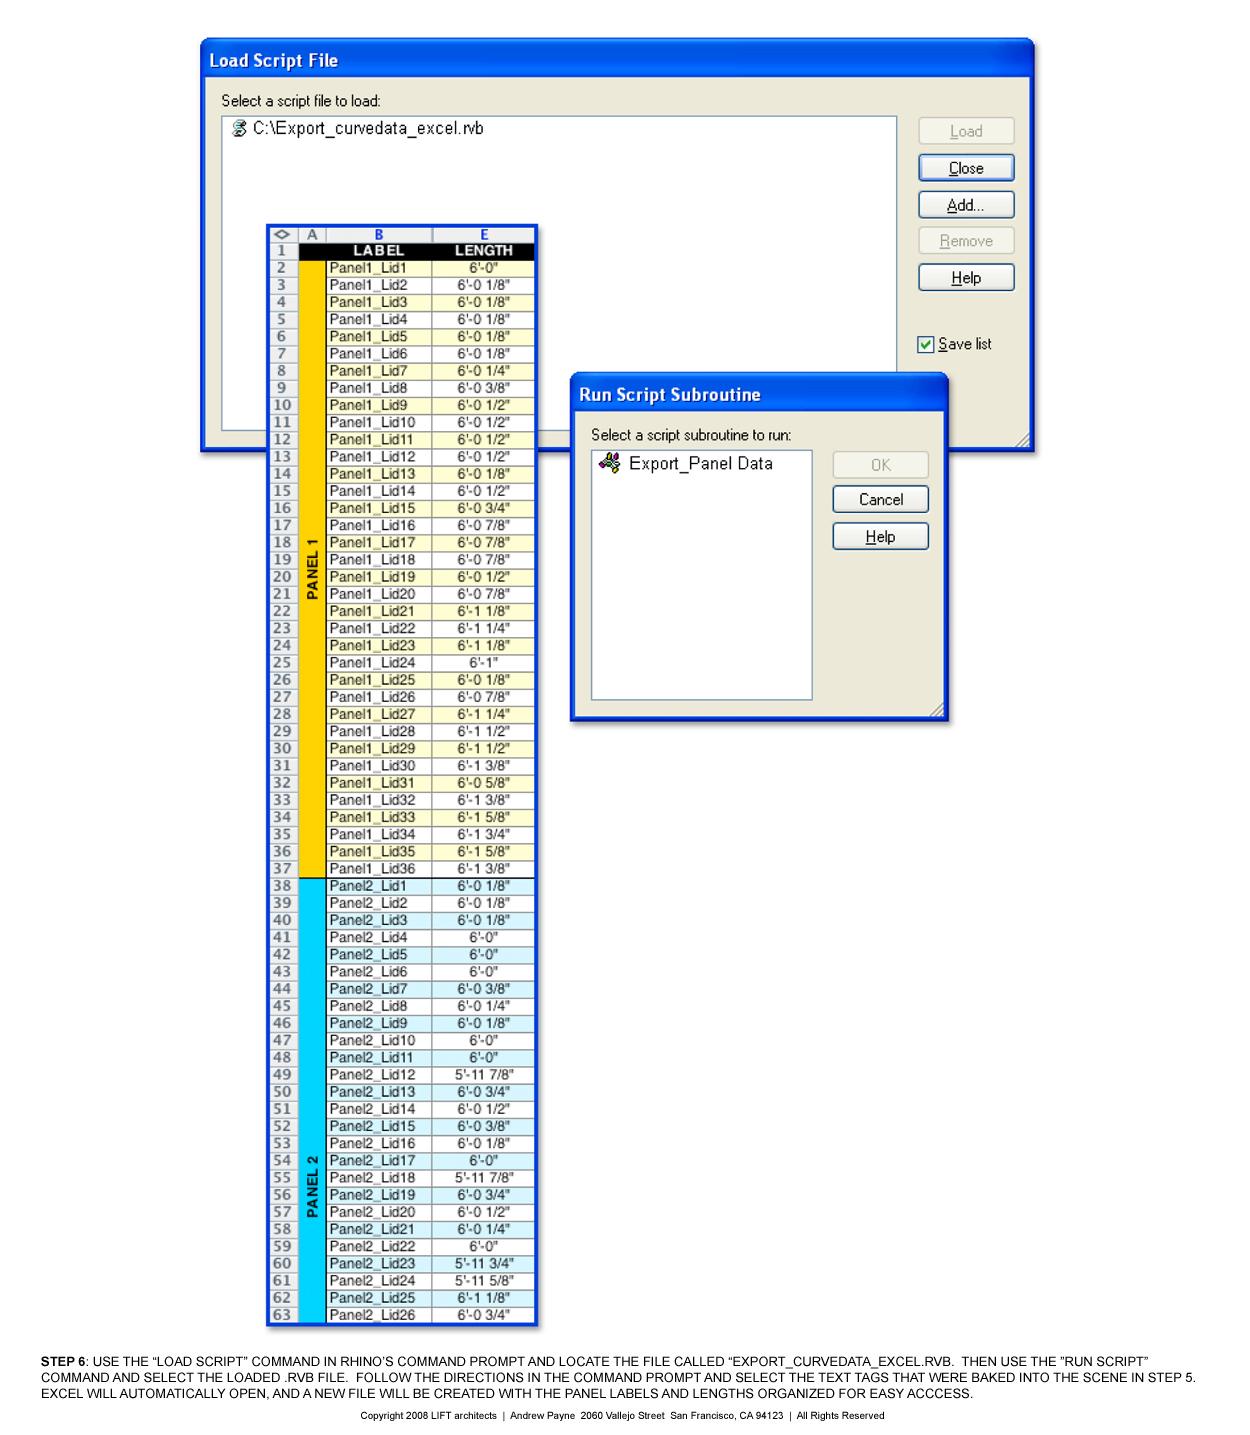 Step 6: Once all of the text tags have been baked into the scene, use the "Load Script" command and locate the rhinoscript called "Export_curvedata_excel.rvb". The use the "Run Script" command and select the loaded rhinoscript from the menu. Follow the on screen directions in the command prompt and select all of the text tags. Excel will automatically open, and a new file will be created with the panel labels and lengths organized for easy access. Within Excel you can convert the length stored from Rhino (rounded to the nearest one thousandth) into a more managable dimension using feet and inches and a specified tolerance. Click image for more detail.
"Put a Lid on It" Party
With a turn out of 21 people for our fourth "Put a Lid on It" volunteer party, we were able to get a great deal accomplished. It has really been an amazing process with an unbelievable response from the community. We've now completed 29 out of 84 panels (over 1,000 lids finished) for the mason jar lid ceiling. If you're interested in taking part in our exhibition pavilion for the Slow Food Nation event being held in Fort Mason on Labor Day weekend, please stop by our office any Thursday evening (6:30-9:00) or Sunday evening (4:00-7:00) between now and the event date. Thanks again for all those who have contributed so far to make the Pickle Pavilion become a reality! Below are a few miscellaneous pictures from the whole fabrication process.


Lid of Lids Mockup
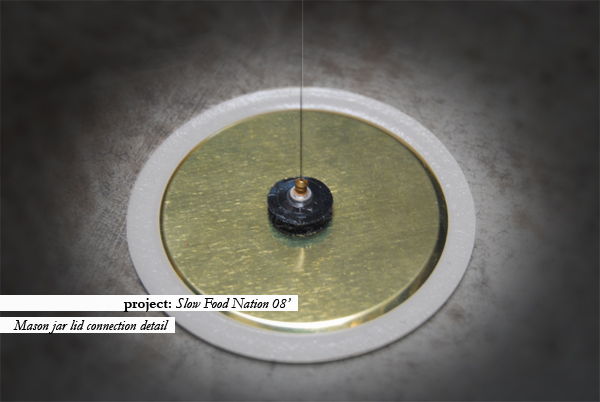
Our team finally decided to go forth with our second full scale mockup of the suspended mason jar ceiling and here are a few shots from this weekend's test. I was pretty satisfied with our connection detail between the mason jar lid and the fishing line that we are using to suspended the lid from the peg board ceiling. We were able to come up with a system that eliminates all knot tying by threading the fishing line through the back of an ear ring and sandwiching it between the ear ring back and the back side of one piece of a circular velcro strip. It did take a little practice, but overall the system seems to work pretty efficiently. The velcro also allows for some adjustability which will hopefully work in our favor once we begin final assembly. 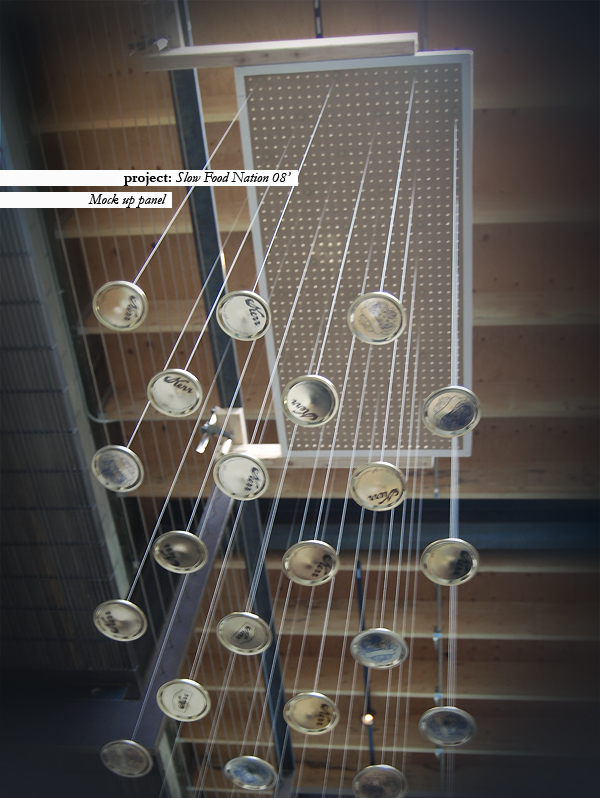
The Machinery Exchange v1.0
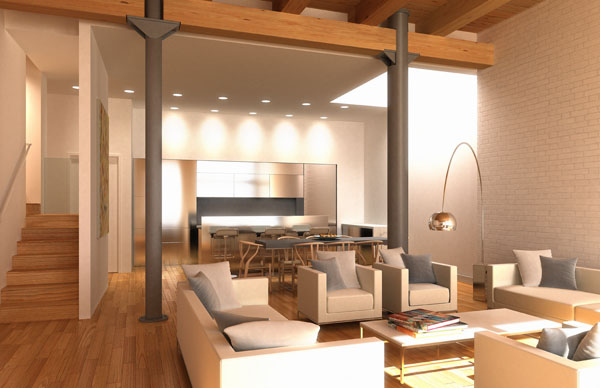
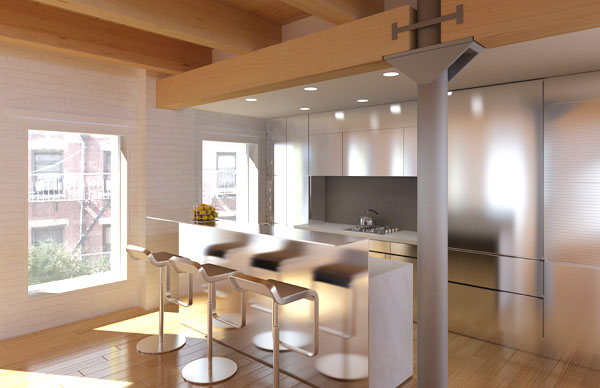
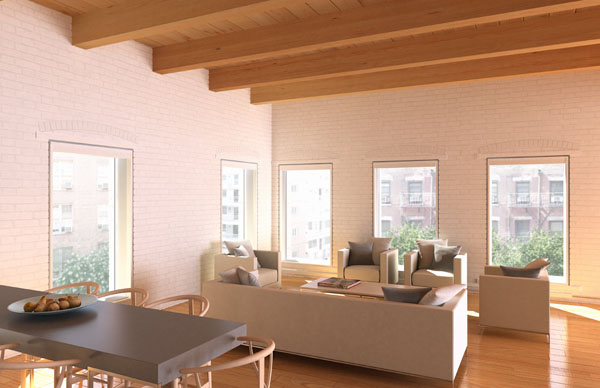
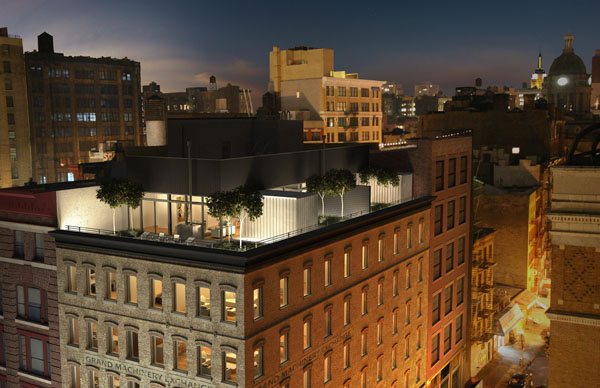
Here are a few of the final images that Alan Silverman and I finished for a new condo project opening up in New York City. The post below shows new construction photos of the project that was designed by Mark Dubois and Ed Rawlings, and developed by Max Protetch. There are other visualizations that we completed also posted on the project website, so make sure to check it out at http://www.machineryexchangecondo.com/
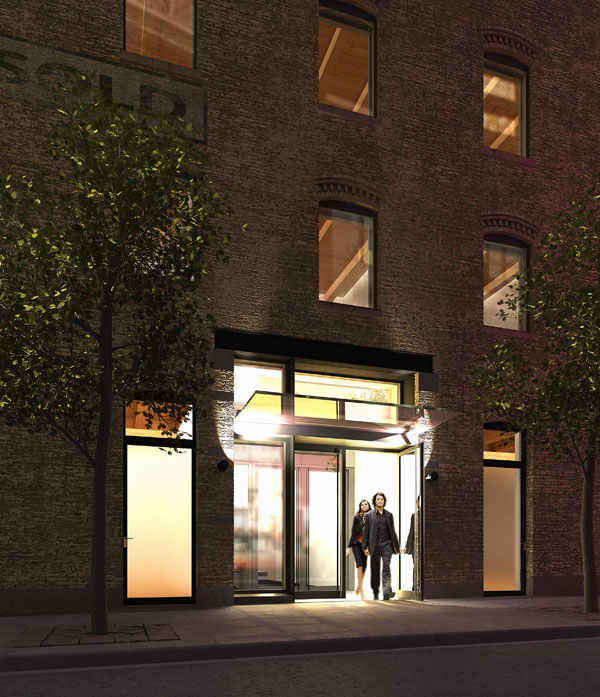
The Machinery Exchange v2.0
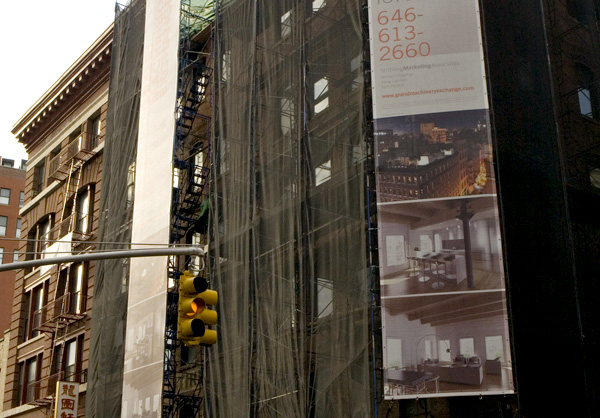

A friend of mine, Alan Silverman, and I just finished the visualizations for a new condominium going up in Little Italy designed by Mark Dubois and Ed Rawlings. The project is the brain child of Max Protetch who is one of the world's leading art dealers and has worked with some of the most important architects of the 20th century, including Frank Ghery, Zaha Hadid, and Rem Koolhaas. As Alan was walking by the site, he was able to take a few quick snapshots of the signage on the building that features the renderings we completed for the condo's marketing campaign. Check out the website for more information about the project: http://www.machineryexchangecondo.com/
St. Helena Residence
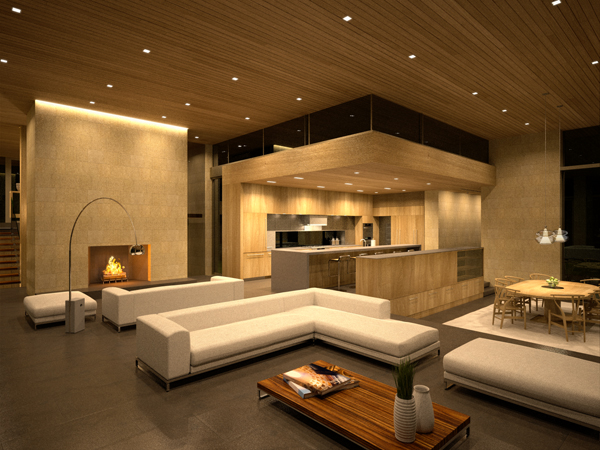
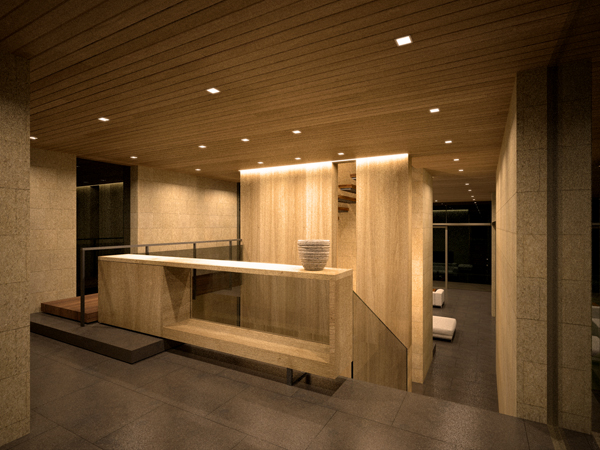
These are a few lighting renderings that I have been working on for a residence in Napa Valley that I am helping design for Sagan Piechota Architecture. The point of these visualizations was to calibrate the exact number of lights with the correct lighting data, per our lighting consultant, to understand the light properties throughout the house. I was using the rendering engine Maxwell, to coordinate the light temperature and wattage.
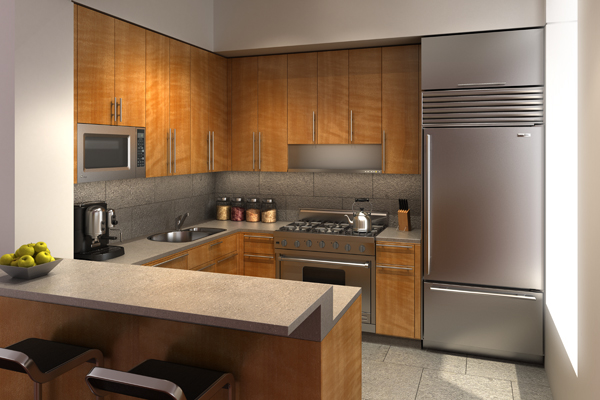
Garden Lot Residence
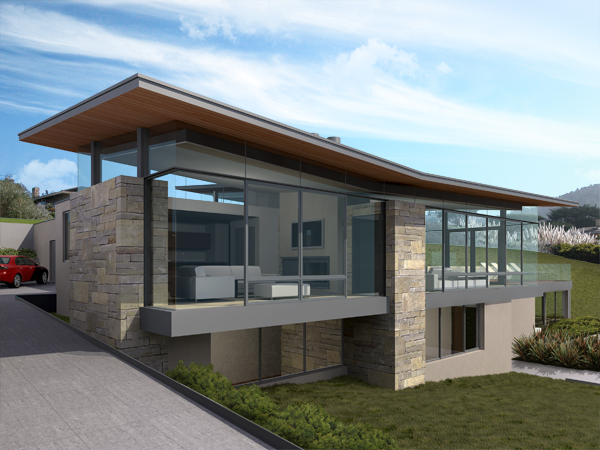
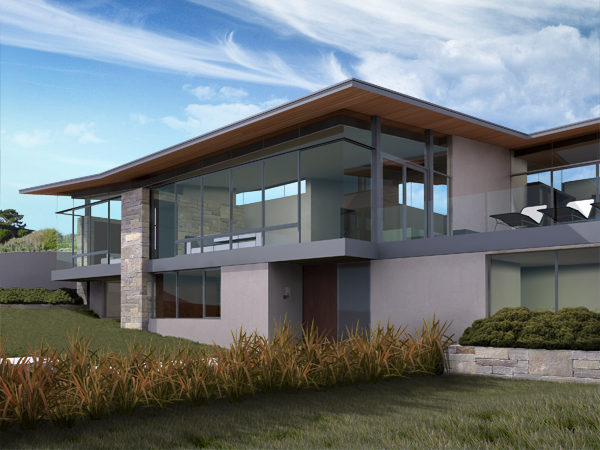
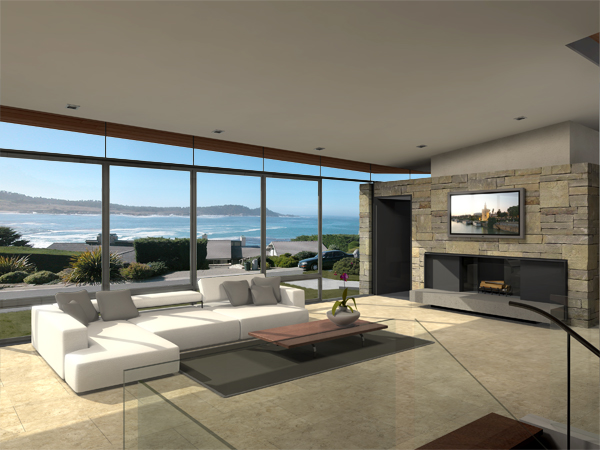
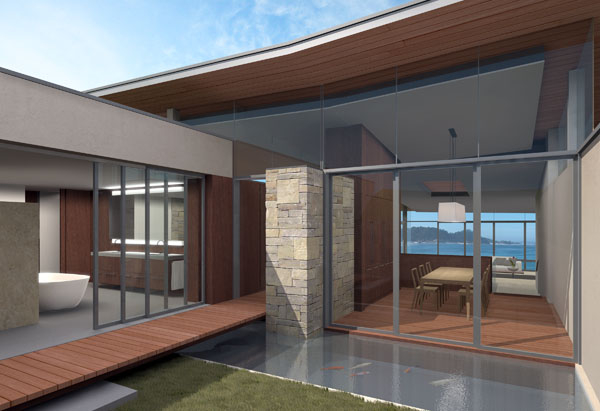
These are a few of my renderings I completed for a house in Carmel, CA. The house was designed by Daniel Piechota and John Davis from our office and is in a little bit of limbo at the moment becuase the client is considering selling the land with the finished plans or building the house and selling it fully furnished. So if your in the market and can swing anywhere from 4.5 - 10$ million, then let me know. All rights reserved on the images.
200 Church St.
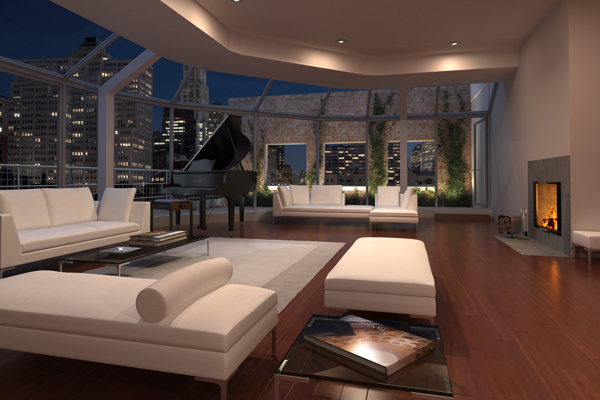
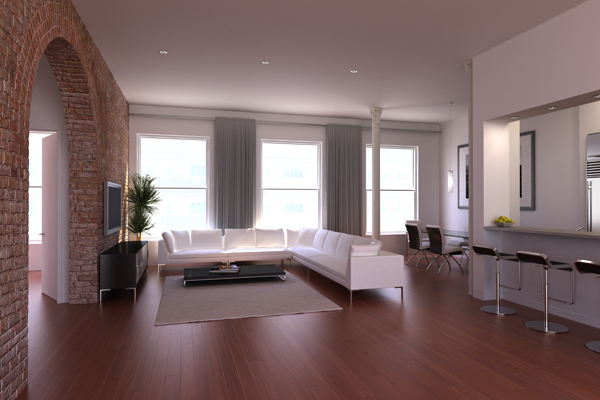
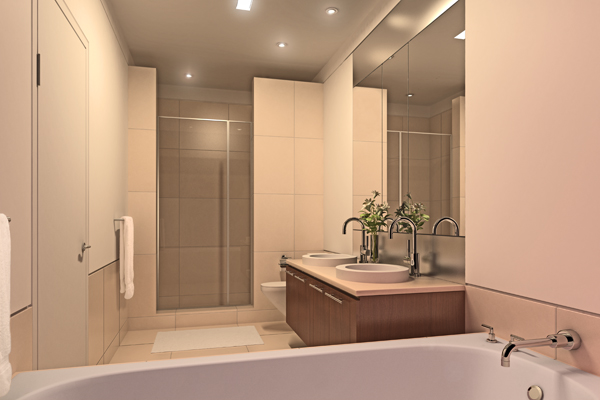
These are a few of the final visualizations that Alan Silverman and I have completed for a new housing project in New York City. The designs were done by Jeffery Cole Architects and the project should be completed by 2007.